|
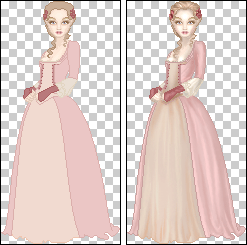
At first you start
with drawing your doll, open her in your programme and shade her. Be careful
to make the shading in a seperate layer.
I use a base from
Doll on
the Hill Factory and a pattern from
Xandorra's Place.
|
|
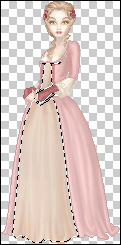
Now that your doll is
shaded properly, you create a new layer and call it "Pattern". Choose the
pattern you want to use and copy it. Now you select the part of the clothes
on which you want to have the pattern (go to the layer in which you have
drawn the doll and use the wand tool
 ). ).
|
|
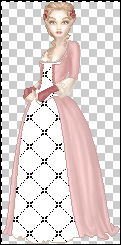
Return to layer "pattern"
and paste the pattern into your selection.(Shif+Ctrl+V). |
|
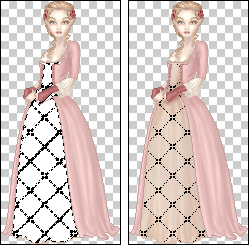
Then you pick the wand
tool and select the white part of the pattern and delete the selection. |
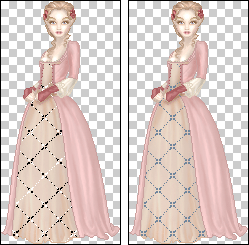
|
Depending on whether
you have already chosen a coloured pattern you can or cannot skip this step.
To fill the pattern in a new colour, select the black part of the pattern
and fill it in the colour you want. (Edit -> Fill) |
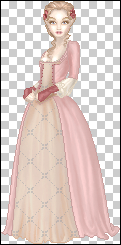 
|
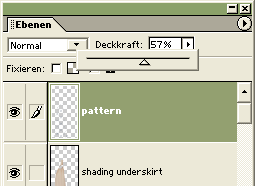
Now you go to your
layer panel and reduce the opacity of your pattern layer. I have the German
version of photoshop, but the window looks something like this.
Depending on the colour and the final look that you want, you have to play
around with the opacity settings for a while.
|
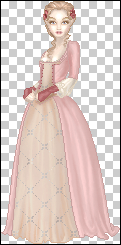 |
We are almost done now,
and you can skip this part, but I want to add a bit more depth to the
pattern. So pick the darken tool,  size
between 2 and 5, and go over the pattern where you have already shaded
your folds. size
between 2 and 5, and go over the pattern where you have already shaded
your folds.
Then you pick the lighten tool and go over the highlights.
Now you're done! |
| |
|


