|
Shirt Shading |
This tutorial was created using Adobe Photoshop CS,
but it is working in any other similar graphic programmes.
|
|
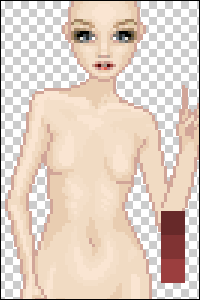
First, choose a base, copy
and paste it into your dolling programme, and create a colour pallette with
three shades - the darkest for outline&shading, a medium one, and one for
the highlights. |
|
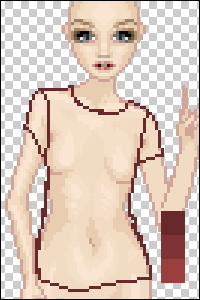
Create a new layer and call
it "shirt". Pick the pencil tool
 (size 1) and draw the outline of the shirt.
Depending on if you want a more loose or more fitting shirt, you follow the
base out line more or less close. (size 1) and draw the outline of the shirt.
Depending on if you want a more loose or more fitting shirt, you follow the
base out line more or less close.
The body bends a little to the right (our point ov view), that's why I
already added a little "bump", where the main fold will later run.
|
|
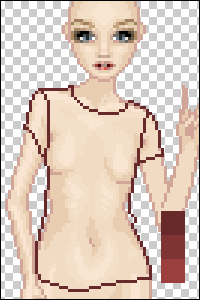
Don't forget to clean up
the lines (using the eraser tool  ), else your clothing item will look messy! ), else your clothing item will look messy!
 |
|
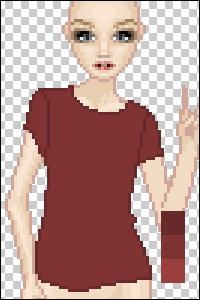
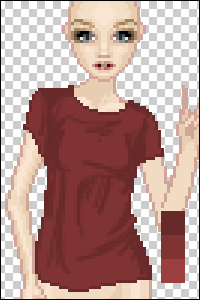
Pick the medium colour, the
filling tool  and fill the shirt. and fill the shirt.
|
|
Duplicate the shirt layer
and pick the darkest colour, to add the shadows with the airbrush , size 1.
 Take a look at the
original base shape and shading to check where to add shadows to define the
shape of the shirt. Even a loose shirt one will follow certain rules - below
the breasts, arms and at her waist.
To make the shirt fall
more natural, add a few horicontal folds. The folds across her chest usually
follow the direction of the shoulder line, those at her waist should then go
in the direction opposing the shoulder line.
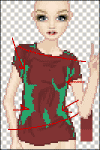
(Don't worry if you draw out of the
shirt outline,
we'll fix that later.)
|
|
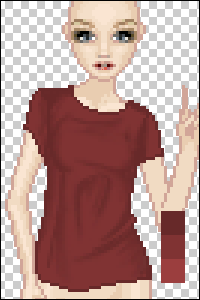
Pick the smudge tool
 (size 2-5, pressure about 70%) and
start smudging the folds. Try to make it even, but don't overdo it - the
folds should still be clearly defined, whereas the shadows at her breasts
should be more smudged. (size 2-5, pressure about 70%) and
start smudging the folds. Try to make it even, but don't overdo it - the
folds should still be clearly defined, whereas the shadows at her breasts
should be more smudged.
|
|
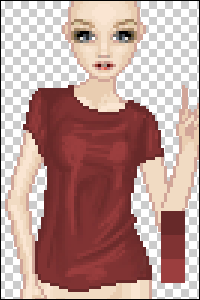
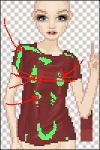
Duplicate the shirt layer
ahain and pick the lightest colour, to draw the highlights using the
airbrush, size 1.
Again, there are some areas where there'll usually be hightlights - at the
shoulders and on her chest, and of course accenting the already existing
folds. On a loose shirt there won't be too many highlighted areas.
|
|
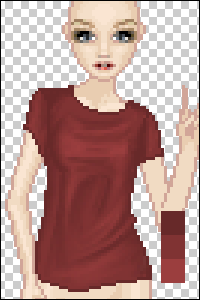
Again, go over the
highlights with the smudge tool  (size 2-5, pressure about 70%) and smudge the highlights. Try to get rid of
too harsh contrasts and to keep it smooth.
 |
|
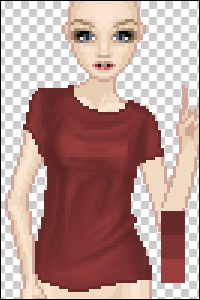
Merge (Ctrl+E) all the
shirt layers apart from the original one (the one named simply "shirt").
Then pick the darken tool
 (size about 9; opacity around 20) and add some more shadow under the breasts
and at her sides. Be careful not to overdo it!
 |
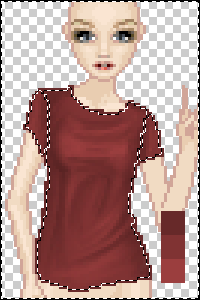 |
Return to the first shirt
layer and use the wand tool  to select
the shirt filling. Press Shift+Ctrl+I to invert t he selection, return to
the shirt layer containing the shading and delete the selection. to select
the shirt filling. Press Shift+Ctrl+I to invert t he selection, return to
the shirt layer containing the shading and delete the selection. |
   |
You're done now! Just
fiddle a bit with the colours and add a few details, et voilą. |
|
If you have
any question about the tutorial, send me a mail or sign my guestbook!
Feedback would be welcome! :) |