|
This tutorial was made in Adobe Photoshop, but you should be able to follow it
in any other similar graphic programmes aswell (like the GIMP or PSP).
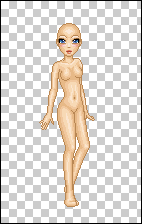

|
At first, choose a base, copy it and
paste it into your program. (I have chosen a base from the wonderful
Saralyssan, but it
works with any other kind of bases aswell). You will also need a colour
palette with three colour shades. |
|
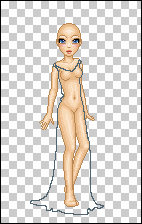
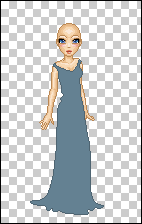
Create a new layer
called "dress outline" and then pick the drawing tool
 (size 1, opacity 100%), using the darkest
shade of the palette to draw the outline. (size 1, opacity 100%), using the darkest
shade of the palette to draw the outline.
I go for a dress with simple folds, to make it easier to understand. A dress
usually won't be all body tight, so don't just follow the outline of the
base, but add a little fold here and there. For the bottom folds it's
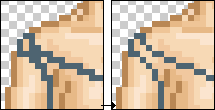
important to make them not to regular and all the same size. (Flipping the
whole doll is a nice trick to check whether the folds are right or very odd)
When you're done, don't forget to clean up the lines, else the doll will
look messy. |
|
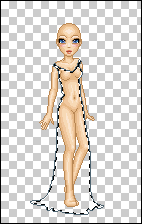
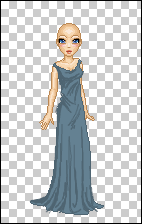
Now you create another
new layer, called "dress filling" and fill
 the dress with the second colour
on the pallete. (Sometimes you will have to use the wand tool to select the
dress) the dress with the second colour
on the pallete. (Sometimes you will have to use the wand tool to select the
dress) |
|
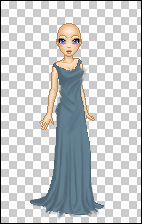
Duplicate the layer "dress
filling" (now call it "shading") and start drawing the shadows, using the
airbrush/drawing tool  (Size 1-3, Opacity 100%). (Size 1-3, Opacity 100%).
Shadows will usually be under the breasts, at the side of the dress, and
where the outline show the folds. Again, don't make them too even or
regular, and vary the lengths. (Don't worry if you draw out of the dress,
we'll fix that later) |
|
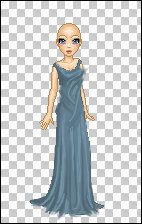
Pick the "smudge tool" (size 2-5, opacity 50-70, depending on whether you have small and delicate
folds or bigger ones), and start smudgind the folds. Try to make it even (don't
stop three times when smudgind the same bottom folds).
 |
|
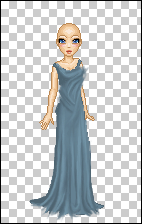
Again, duplicate the
layer and name it "highlight". Now you use the drawing tool (size 1, Opacity 100%) in the lightest colour, to add the highlights. They
have to be on the breasts, and where you have already defined your folds.
 |
|
Pick the smudge tool
 and smudge your highlights (in the
same way as we did with the shadows). and smudge your highlights (in the
same way as we did with the shadows). |
|
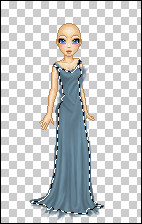
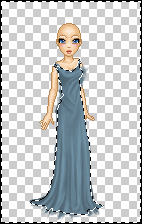
Go to the layer "dress filling", pick the wand tool
 , select the filling and invert
the selection. , select the filling and invert
the selection.
|
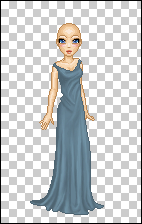 |
Return to the layer "shading"
and delete the selection. Do the same with layer "highlight". |

 |
Now you're done. Add
some details (a belt, borders,
pattern or a gradient), edit the face makeup
or skin colour (this is always a nice touch to make the doll look individual)
and make the hair! |
| |
|
I hope this tutorial has helped you a bit! If
there's anything you want to ask, or to improve about this tutorial, just sign
my guestbook or mail me.
Want to know how to do hair? Take a look at my
hair tutorial.
|